All the tops I got are from Zara: A red high-low sweater, a red skull high-low T-shirt and A leather sleeved Tee. Lets just say I love Zara because I have never once gotten anything there that I don't like after a few wears.
The bottoms I got consist of a pair of spike-studded distressed jean shorts from Topshop (love, love, love) and a pair of high-waist leather shorts from Forever21.
Some basics from Forever21...had thought it was quite pathetic to be getting this stuff on Boxing Day, but I did anyway (Har, Har, Har).
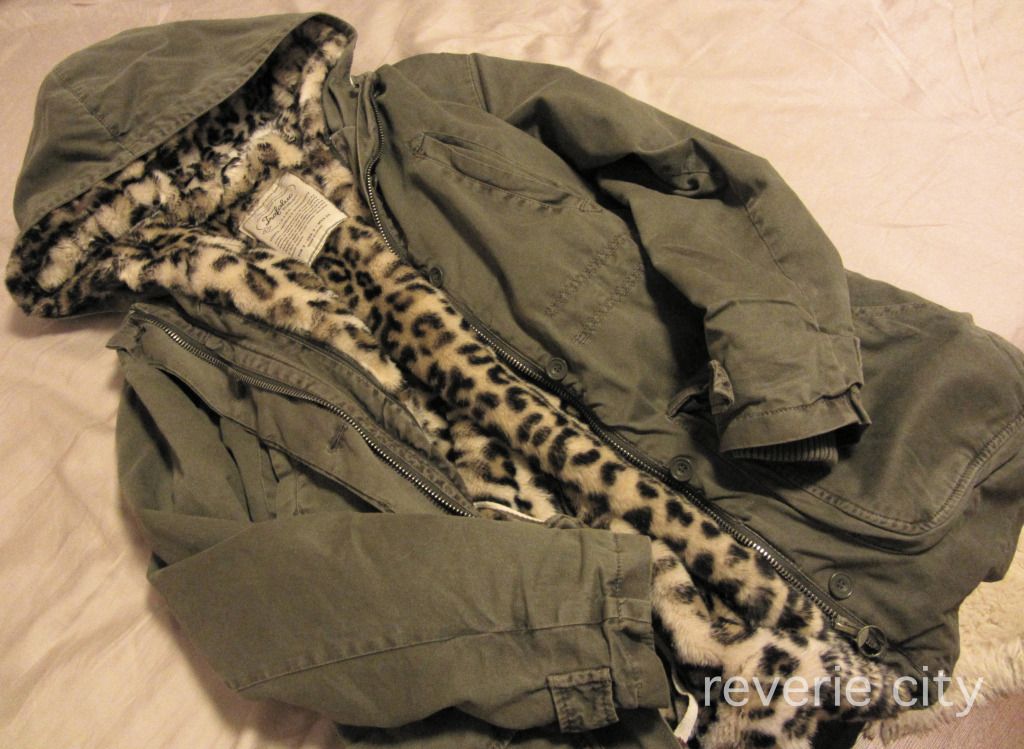
This leopard lined cargo jacket is a present from my mom. I always wanted a cargo jacket so I became quite the happy camper when I got a hold of this. Again, this is from Zara.
I've contemplated on getting these spike hairbands from Yes Style for a long time, in the end I couldn't resist and they came in the mail :). I couldn't decide if I wanted the silver one with leather lining or the gold one...so what do I do when I'm in a dilemma? Buy both.
When I look at these pieces I feel so inspired and I just know there are countless possibilities!
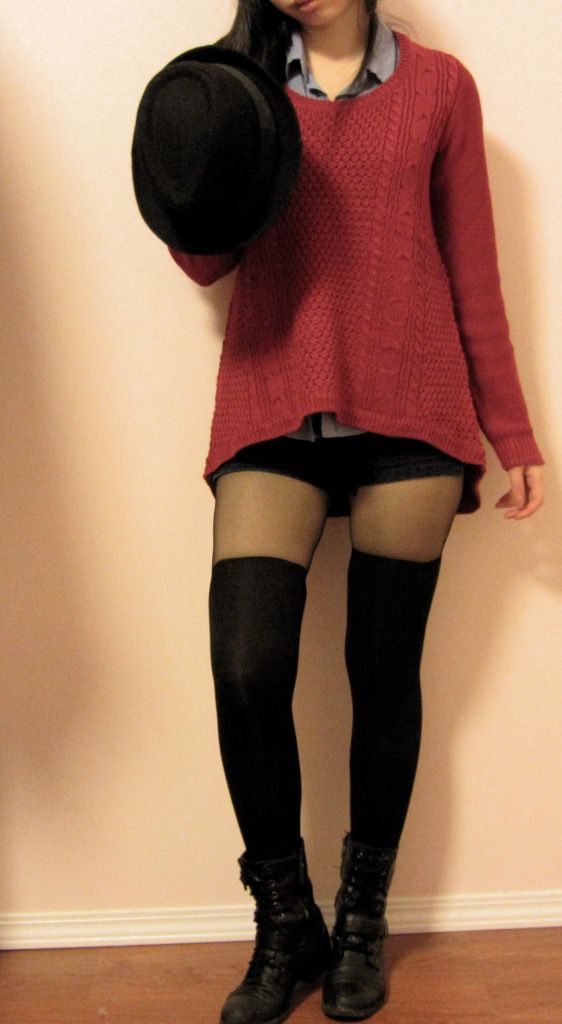
The red sweater can really go with anything; jeans, leggings, leathers. What I did was pair it up with some dark navy shorts, a collared button up, combat boots and a cheap fedora I bought from the men's section of Urban Behaviour. I also recently have been hunting for mock-over-knee tights, but I can't find any...So I did a little DIY myself.
(Zara leather sleeved tee, Forever21 high-waist shorts, a leather stud wrap bracelet and some coffee leather booties)
The leather sleeved tee I got from Zara, plays well with high-waist items. Some skinny jeans, leather pants, skater skirt would play well casual. For something more played up I would go for a peplum. Nevertheless, I got to say this top is super chic!
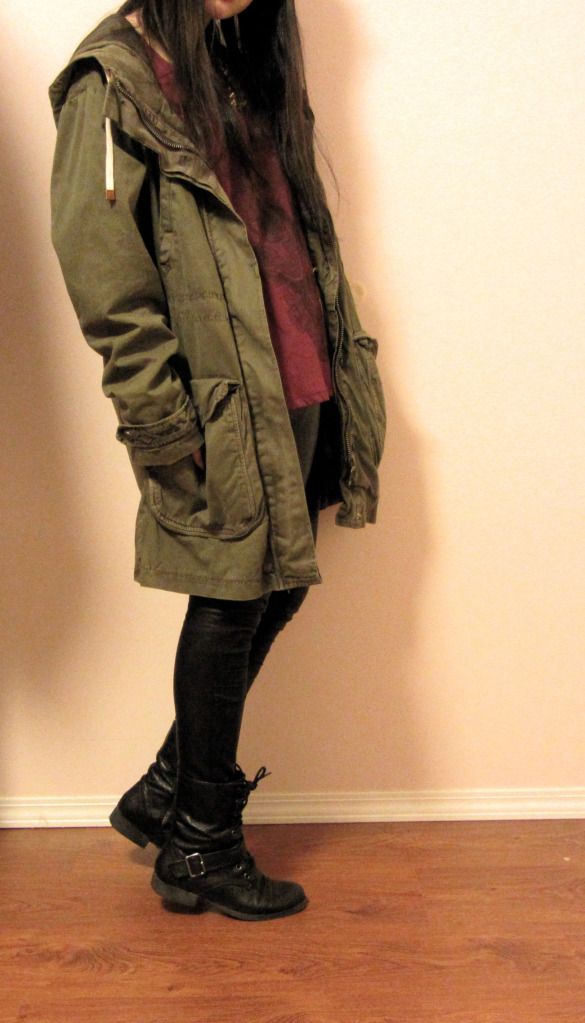
(Zara high-low skull tee, studded collar necklace, Forever21 leather pants, Nine West combats)
This tee can be worn with some cute shorts and immediately be played up for summer or with some denim button-up it can be slack, school friendly but still fashionable. I absolutely love the flexibility of this top (haha not literally).
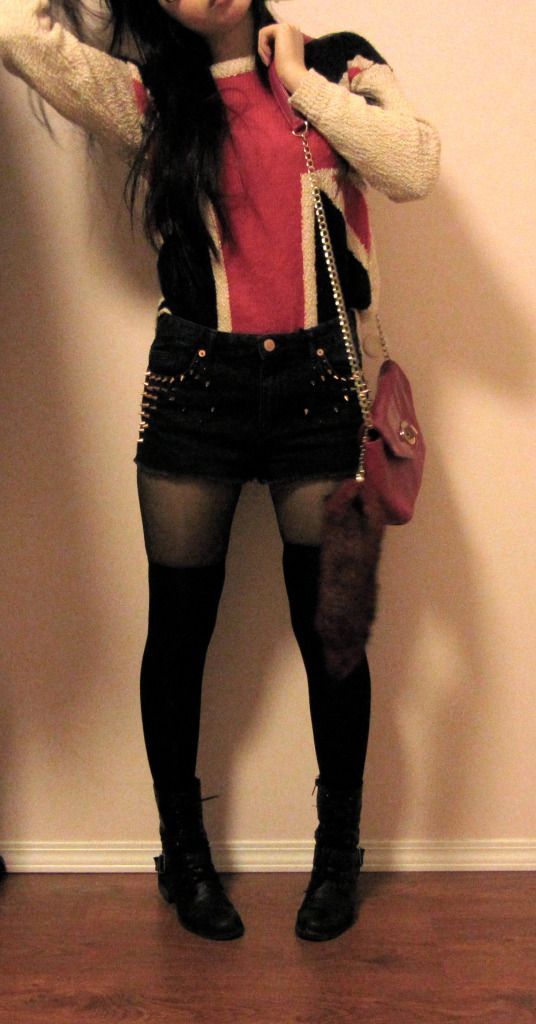
(Forever21 Jack Union sweater, Top Shop spike-stud denim shorts, Aldo fox-tail messenger bag, Nine West combats)
I like these shorts because I'm in this 'lets put studs on everything' phase. These were meant to be high-waist, but I thought it got a little provocative at the behind so I got two sizes bigger and let it hang snugly at my hip ( I have very unflattering wide hips, but I guess it plays to my advantage when it comes to these shorts haha). I believe these shorts can go both on the warmer season and colder season spectrum...But honestly when has it stopped me from wearing shorts in the winter? Just pull on a pair of tights or leggings and voila!
And a nice comfy jacket is also the key in this season. Although the cargo jackets have been swarming up the streets lately here in Vancouver, I just couldn't say no to one. I especially love this jacket of mine because I can be kept warm in the winter with the leopard lining and then detach it when I deem it's too hot! It's as easy as two in one shampoo! (Although I hate two in one shampoo).
This season I would say to pay attention to keeping warm but not forget to dress up and have fun...It tends to slip our minds when we're all fighting to keep ourselves healthily snugged up and honestly when I have to lug myself to school I tend to just 'throw' on something too. Although it is cold lets still keep in mind that we don't have to always dress to impress and perhaps should start feeling the need to dress to express instead!
-- eva.


